


Hey there! I'm a supplier of commercial glass washers, and I know how important it is to keep these machines clean. A well - maintained commercial glass washer not only ensures that your glasses come out sparkling clean but also extends the lifespan of the machine. So, let's dive into how you can clean the interior of a commercial glass washer.
Why Cleaning the Interior Matters
First off, why should you bother cleaning the interior of your commercial glass washer? Well, over time, food particles, grease, and mineral deposits can build up inside the machine. This buildup can lead to a few problems. For one, it can affect the cleaning performance. Your glasses might not come out as clean as they should, and you could end up with spots or streaks. Secondly, it can cause damage to the internal components of the washer. The pumps, nozzles, and heating elements can get clogged or corroded, which can lead to costly repairs or even the need to replace the whole machine.

Pre - Clean Steps
Before you start cleaning the interior of your commercial glass washer, there are a few things you need to do. First, make sure the machine is turned off and unplugged. Safety first, right? You don't want to risk getting an electric shock while you're cleaning.
Next, remove any glasses, racks, or other items from the washer. These can be washed separately in a sink with warm, soapy water. Use a soft brush to gently scrub away any dirt or debris. Rinse them thoroughly and let them dry.
Cleaning the Interior
1. Wipe Down the Interior Surfaces
Once you've removed all the items from the washer, it's time to start cleaning the interior surfaces. You can use a mild detergent and a soft cloth or sponge. Mix the detergent with warm water according to the manufacturer's instructions.
Start by wiping down the walls, floor, and door of the washer. Pay special attention to any areas where there is visible dirt or grime. You might need to use a bit of elbow grease to get rid of stubborn stains. Make sure to get into all the nooks and crannies, like the corners and around the edges of the door.
2. Clean the Spray Arms
The spray arms are an important part of the commercial glass washer. They are responsible for spraying water and detergent onto the glasses to clean them. Over time, the nozzles on the spray arms can get clogged with debris.
To clean the spray arms, remove them from the washer. Most spray arms can be easily detached by turning or pulling them. Once you've removed them, soak them in a sink filled with warm, soapy water. Use a small brush, like a toothbrush, to gently clean the nozzles. Make sure to remove any dirt or debris that is blocking the holes.
Rinse the spray arms thoroughly and re - attach them to the washer. Make sure they are properly secured so that they can rotate freely during the wash cycle.
3. Clean the Drain and Filter
The drain and filter in your commercial glass washer can also get clogged with food particles and other debris. This can cause the water to drain slowly or not at all.
To clean the drain, start by removing the drain cover. You can usually do this by unscrewing it or pulling it off. Use a small brush or a pipe cleaner to clean the drain opening. Make sure to remove any debris that is blocking the drain.
The filter is usually located near the drain. Remove the filter and rinse it under running water. Use a brush to gently clean any dirt or debris that is stuck to the filter. If the filter is very dirty, you might need to soak it in a solution of warm water and detergent for a few minutes.
Once you've cleaned the drain and filter, re - install them in the washer. Make sure they are properly seated so that they can function correctly.
4. Descale the Machine
Mineral deposits can build up inside the commercial glass washer over time, especially if you have hard water. These deposits can affect the performance of the machine and cause damage to the internal components.
To descale the machine, you can use a commercial descaling agent. Follow the manufacturer's instructions carefully when using the descaling agent. Usually, you'll need to fill the washer with water and add the descaling agent. Let the machine run through a short cycle with the descaling solution.
After the cycle is complete, drain the water from the washer and rinse it thoroughly. You might need to run a few more cycles with clean water to make sure all the descaling agent is removed.
Post - Clean Steps
Once you've finished cleaning the interior of your commercial glass washer, there are a few things you need to do to make sure it's ready to use again. First, dry the interior of the washer with a clean, dry cloth. This will help prevent the growth of mold and mildew.
Next, re - install the racks and any other items that you removed earlier. Make sure they are properly positioned so that the glasses can be loaded correctly.
Finally, plug in the washer and turn it on. Run a short test cycle with a few glasses to make sure everything is working properly. Check to see if the glasses come out clean and if there are any leaks or other issues.
Using a Commercial Cup Washer
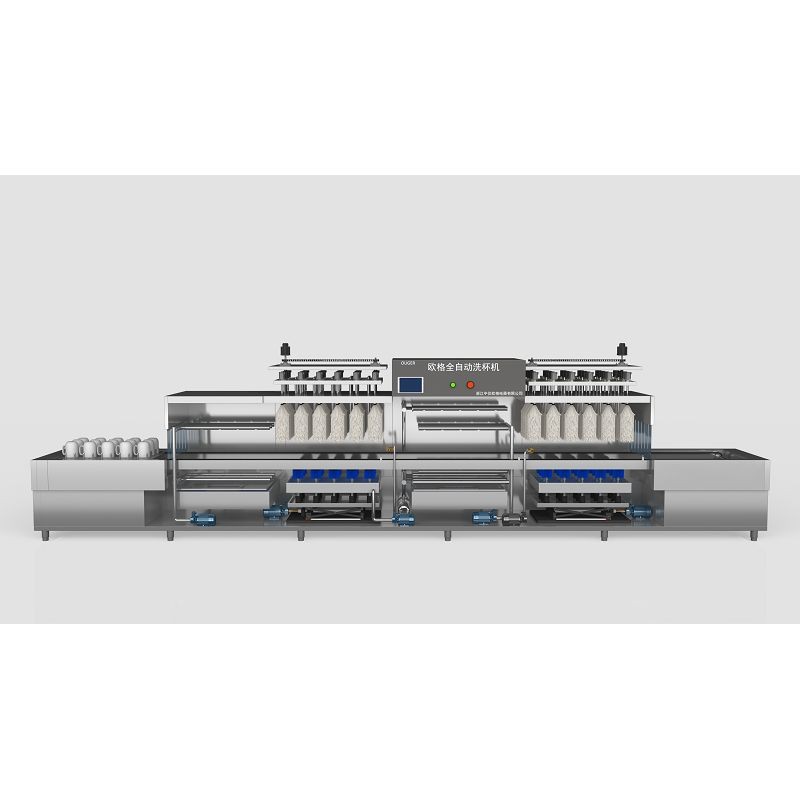
If you're in the market for a new commercial glass washer, you might want to check out our Commercial Cup Washer. It's a great option for businesses that need to clean a large number of cups and glasses quickly and efficiently.
Our commercial cup washer is designed with high - quality materials and advanced technology to ensure optimal cleaning performance. It has a powerful spray system that can remove even the toughest stains and dirt. Plus, it's easy to operate and maintain, making it a great choice for busy commercial kitchens.
Contact Us for Purchasing
If you're interested in learning more about our commercial glass washers or have any questions about cleaning and maintenance, don't hesitate to reach out. We're here to help you find the right solution for your business needs. Whether you're a small café or a large restaurant, we have the perfect commercial glass washer for you.
References
- Manufacturer's manuals for commercial glass washers
- Industry best practices for commercial kitchen equipment maintenance


