


Splicing a PVC conveyor belt might seem like a daunting task, but with the right guidance and a bit of practice, you can get the job done efficiently. As a PVC conveyor belt supplier, I've seen firsthand how proper splicing can significantly extend the lifespan and improve the performance of these belts. In this post, I'll walk you through the step - by - step process of splicing a PVC conveyor belt.
Understanding the Basics
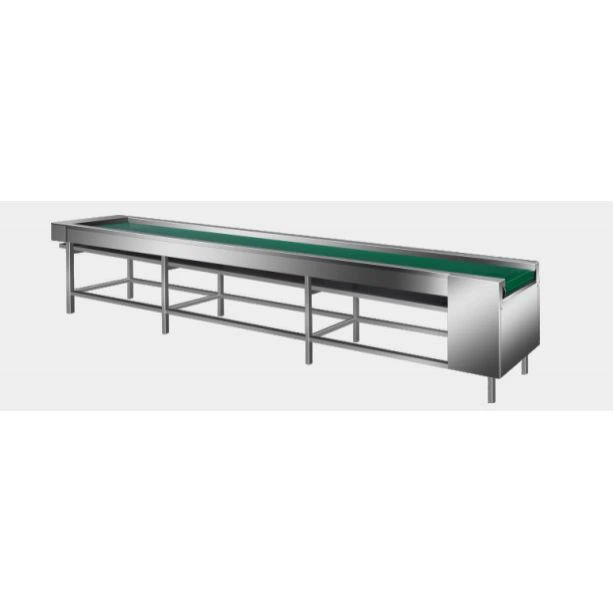
Before we jump into the splicing process, let's quickly cover what PVC conveyor belts are and why splicing is important. PVC conveyor belts, like the PVC Plain Conveyor Belt, are made of polyvinyl chloride, which is a durable and flexible material. They're used in various industries for transporting goods, such as food processing, packaging, and logistics.
Splicing is necessary when you need to join two ends of a belt together to form a continuous loop or repair a damaged section. A well - spliced belt ensures smooth operation, reduces the risk of jams, and minimizes downtime in your production line.
Tools and Materials You'll Need
To splice a PVC conveyor belt, you'll need the following tools and materials:
- Belt Cutter: A sharp cutter to cleanly cut the belt ends.
- Ruler or Measuring Tape: For accurate measurements.
- Belt Splicing Press: This is used to heat and press the belt ends together.
- Abrasive Paper: To roughen the surface of the belt ends for better adhesion.
- Splicing Adhesive: A high - quality adhesive designed for PVC belts.
- Clamps: To hold the belt in place during the splicing process.
Step 1: Preparation
- Measurement: First, you need to measure the width and length of the belt accurately. Decide where the splice will be made and mark the belt ends accordingly. Make sure the lengths of the two ends are equal if you're creating a loop. You want to leave enough material at each end for the splice, usually around 6 - 8 inches on each side.
- Cleaning: Use a clean, dry cloth to wipe the belt ends thoroughly. Any dirt, dust, or grease can affect the adhesion of the splice, so it's crucial to have a clean surface.
- Surface Roughing: Take the abrasive paper and gently rub the surface of the belt ends. This roughens the surface, allowing the adhesive to bond better. Make sure to be consistent in your rubbing to avoid any uneven areas.
Step 2: Cutting the Belt
- Using the belt cutter, carefully cut the belt at the marked points. Make sure the cuts are straight and perpendicular to the belt's edge. A clean cut will ensure a better fit during splicing. It's a good idea to make a few test cuts on a scrap piece of PVC belt if you're new to using the cutter.
Step 3: Applying the Adhesive
- Priming: Some adhesives require a primer to be applied first. Follow the manufacturer's instructions on how to apply the primer evenly on the roughened surfaces of the belt ends. Let the primer dry completely before moving on to the next step.
- Adhesive Application: Once the primer is dry, apply the splicing adhesive to one of the belt ends using a brush or roller. Make sure to apply a thin, even layer. Don't over - apply the adhesive as it can create a mess and might not bond properly.
Step 4: Joining the Belt Ends
- Carefully place the other belt end on top of the adhesive - coated end, aligning the edges precisely. Make sure there are no air bubbles or gaps between the two belt ends. You can use a roller to gently press out any air bubbles as you place the ends together.
- Once the ends are in contact, use the clamps to hold them firmly in place. Apply even pressure along the entire length of the splice to ensure a good bond.
Step 5: Using the Belt Splicing Press
- If you're using a belt splicing press, pre - heat it to the appropriate temperature as specified by the adhesive manufacturer. The temperature is crucial as it activates the adhesive and helps it bond the belt ends together.
- Place the clamped belt splice inside the press. Make sure it's centered and that the press can apply even pressure across the splice.
- Close the press and let it run for the recommended time. This time can vary depending on the type of adhesive and the thickness of the belt. Usually, it can range from a few minutes to up to half an hour.
- After the time is up, carefully open the press and remove the belt. Let it cool down completely before you start using it. This cooling process is important as it allows the adhesive to fully set.
Step 6: Quality Check
- Once the belt has cooled, visually inspect the splice. Look for any signs of uneven bonding, gaps, or air bubbles. You can also run your hand over the splice to feel for any irregularities.
- If you notice any issues, you might need to repeat the splicing process. However, if the splice looks and feels good, you're almost ready to put the belt back into use.
- Before fully integrating the belt into your production line, it's a good idea to do a short test run. This will help you identify any potential problems early on.
Tips for a Successful Splice
- Always follow the manufacturer's instructions for the tools and materials you're using. Different adhesives and splicing presses might have specific requirements.
- Keep your work area clean and organized. This will make the splicing process smoother and reduce the risk of errors.
- If you're splicing a large or heavy - duty belt, it might be a good idea to have an extra pair of hands to help you with the alignment and handling.
- Practice makes perfect. If you're new to splicing PVC belts, try it out on a small scrap piece first to get the hang of the process.
Why Choose Our PVC Conveyor Belts
As a PVC conveyor belt supplier, we pride ourselves on offering high - quality belts that are built to last. Our belts are made from top - grade PVC materials, ensuring excellent durability and performance. We also offer a wide range of belt types and sizes to meet the diverse needs of our customers. Whether you need a simple PVC Plain Conveyor Belt for light - duty applications or a heavy - duty belt for industrial use, we've got you covered.
If you're interested in purchasing our PVC conveyor belts or have any questions about splicing or belt maintenance, don't hesitate to reach out. We're here to help you find the best solutions for your conveyor belt needs. Contact us today to start a conversation about your requirements, and let's work together to keep your production line running smoothly.
References
- "Conveyor Belt Handbook" by Conveyor Belt Manufacturers Association.
- Manufacturer's instructions for PVC conveyor belt splicing tools and adhesives.


